Connecting to Home Assistant
1.Configuring Tasmota Devices
- Flash Tasmota Firmware: Ensure your device has been flashed with Tasmota firmware. This can be done via serial or OTA methods.
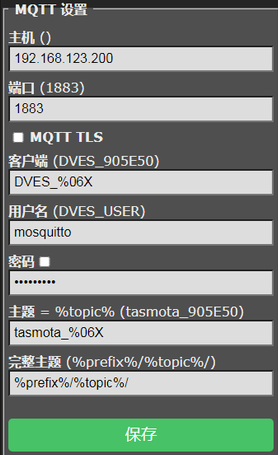
- Configuring MQTT Connection: In the Tasmota web interface, navigate to "Configuration" -> "Configure MQTT". Enter your MQTT server's address, port, and authentication information (if any). Save settings and restart the device to ensure Tasmota can communicate with your Home Assistant via MQTT.
2.Configuring Home Assistant
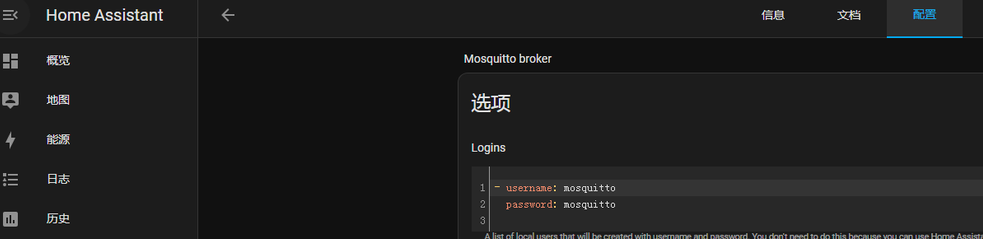
- Integrate MQTT: Add MQTT integration to your Home Assistant configuration file (typically configuration.yaml). Example configuration:
- Save the configuration file and restart Home Assistant to ensure MQTT integration works correctly.
3.Setting Up Home Assistant Integration
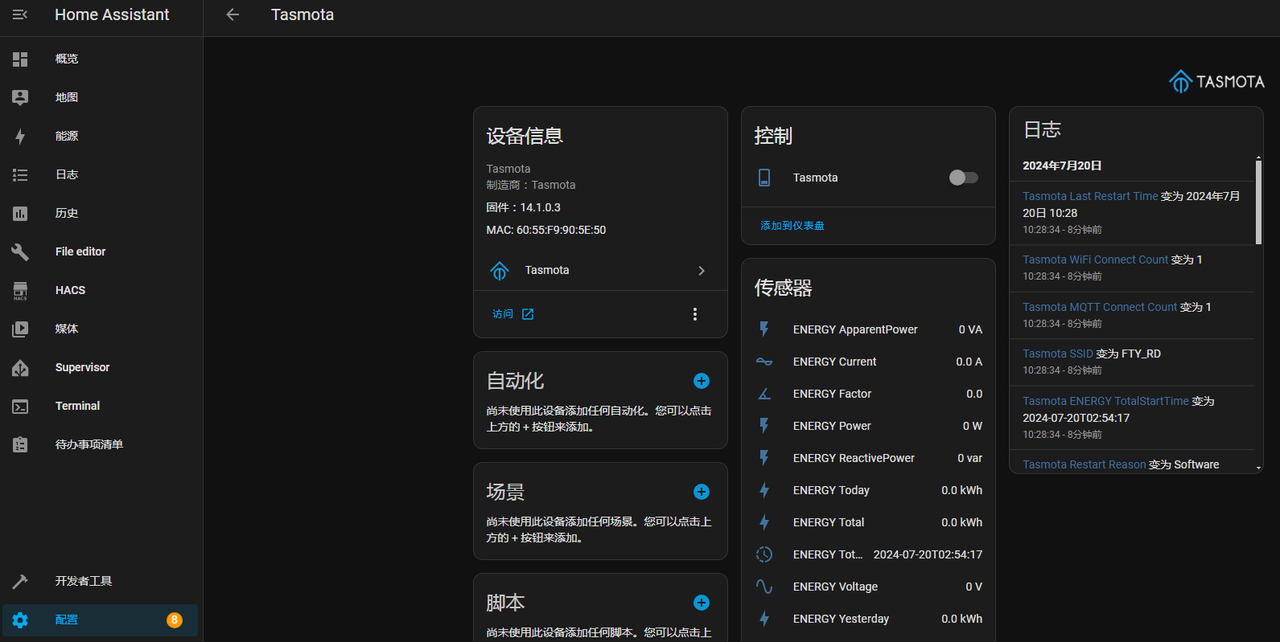
- Adding Tasmota Devices: In the Home Assistant web interface, go to "Configuration" -> "Integrations". Click on "Add Integration", search and select MQTT integration. Follow the instructions to fill in MQTT broker information and choose the Tasmota devices you wish to integrate. Home Assistant will attempt to discover and integrate your Tasmota devices via MQTT.
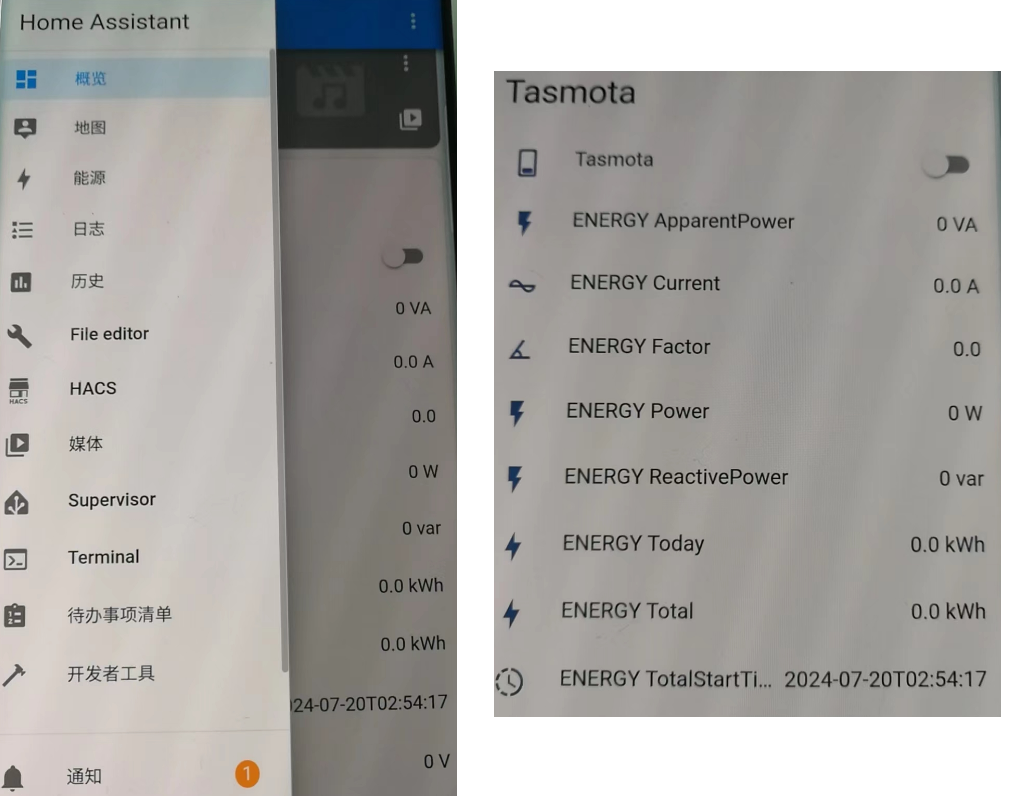
- Verify Integration: Check in Home Assistant if your Tasmota devices have been successfully integrated. Test device control to ensure everything works as expected.
Notes: - Firmware and Hardware Support: Ensure your chosen Tasmota devices support the protocol you plan to use (such as Matter). - Network Setup: Ensure devices and Home Assistant are on the same network for smooth communication. - Security: Keep Tasmota's MQTT configuration consistent with Home Assistant's MQTT setup.